
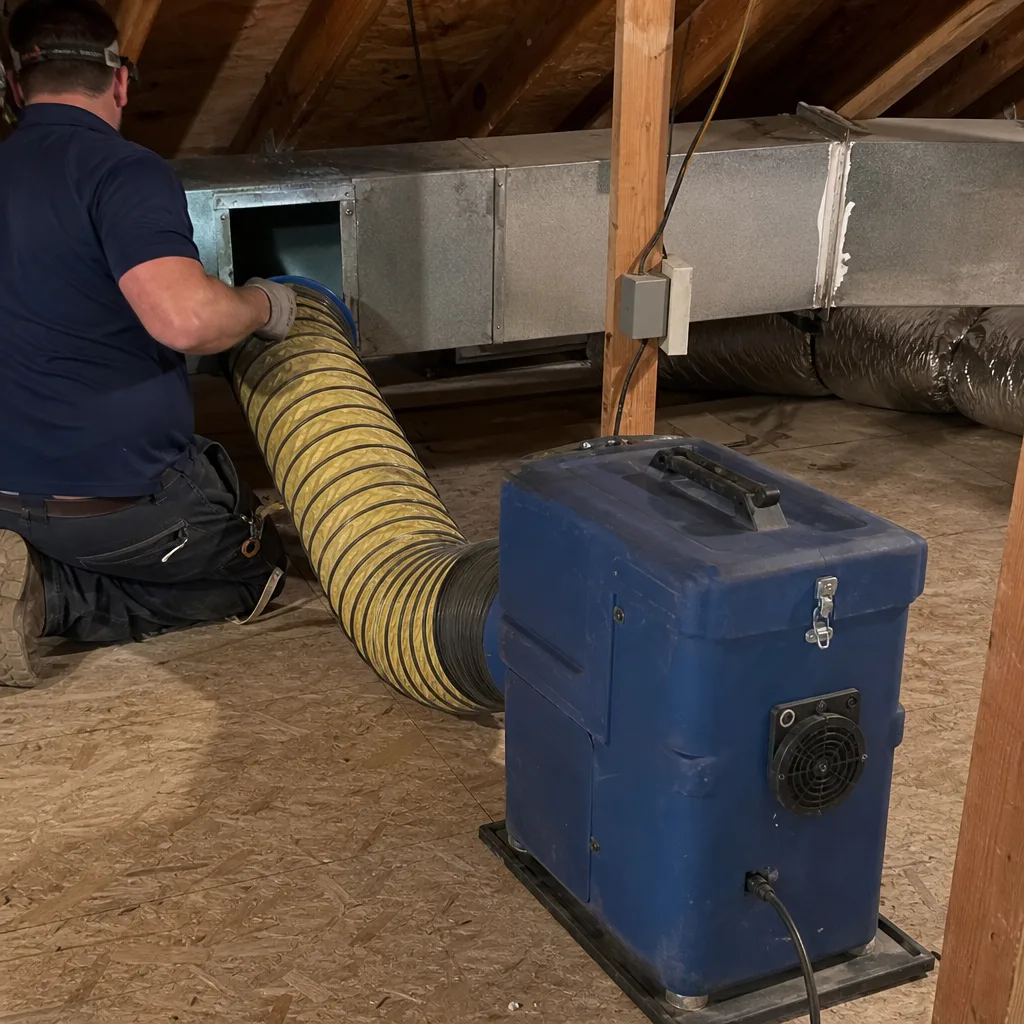
Last updated November 15, 2026
 Whole-home duct cleaning
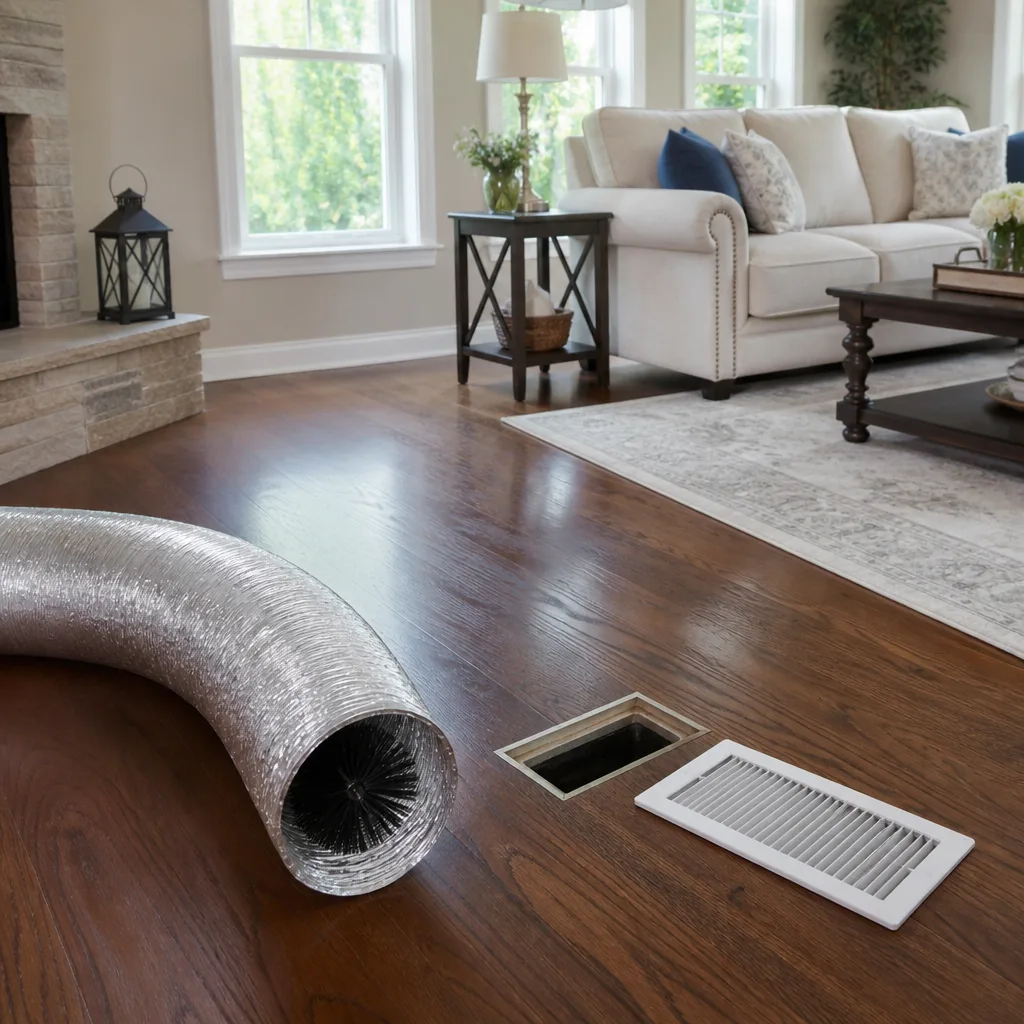
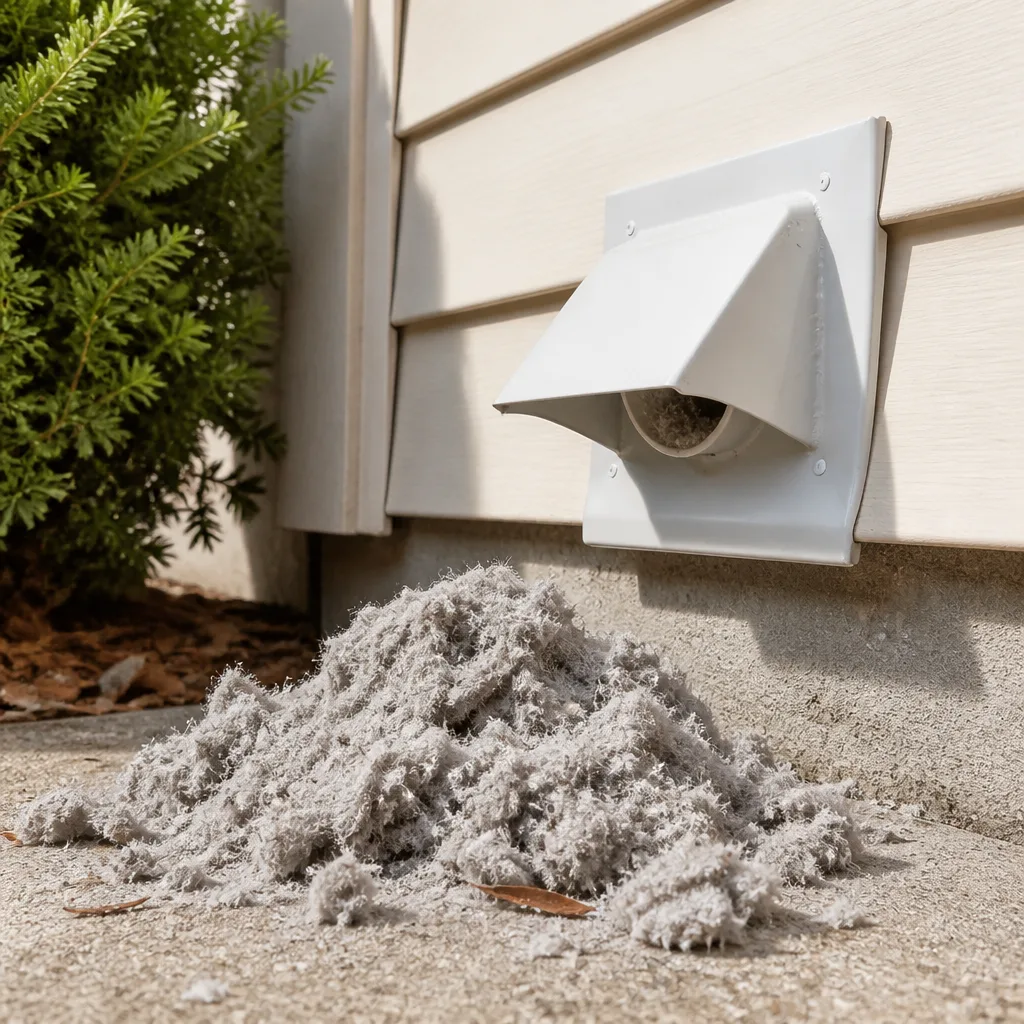 Dryer vent cleaning
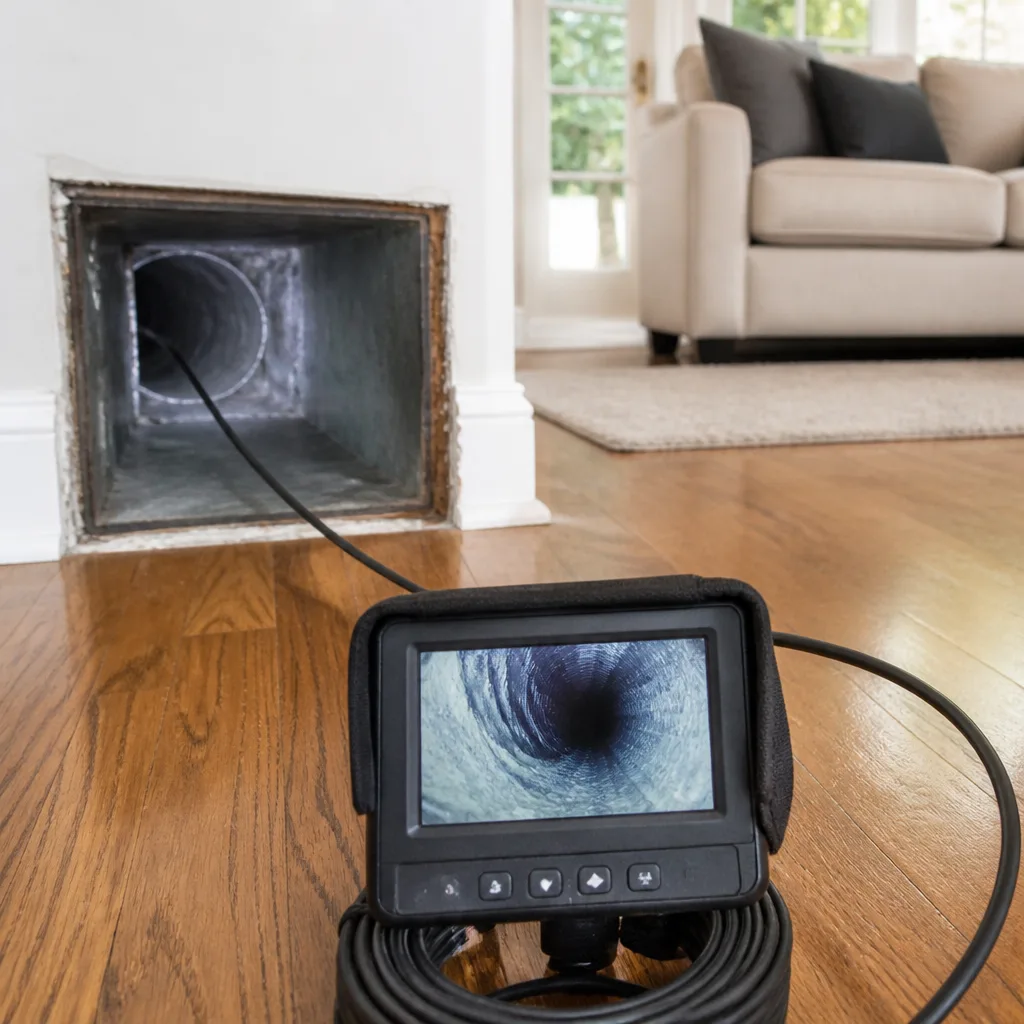 Camera inspection
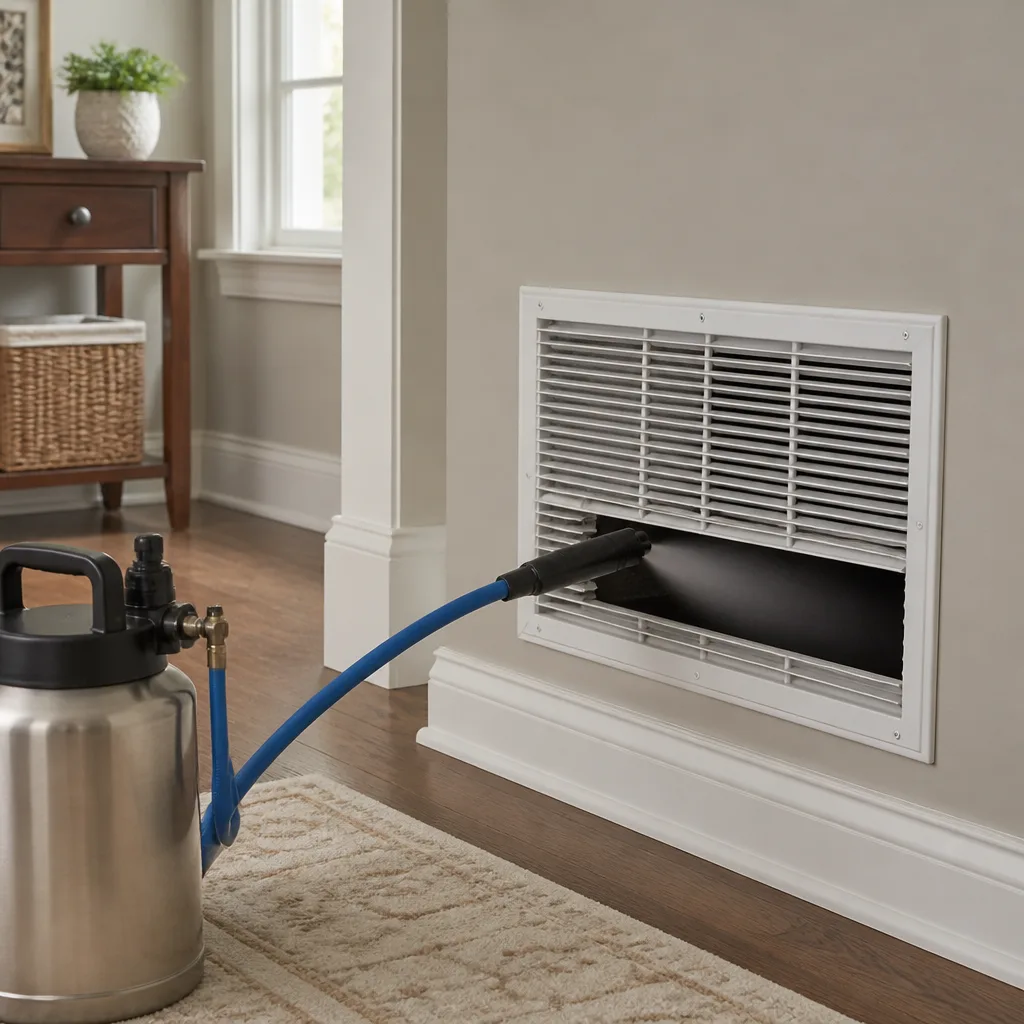 Sanitizing & deodorizing
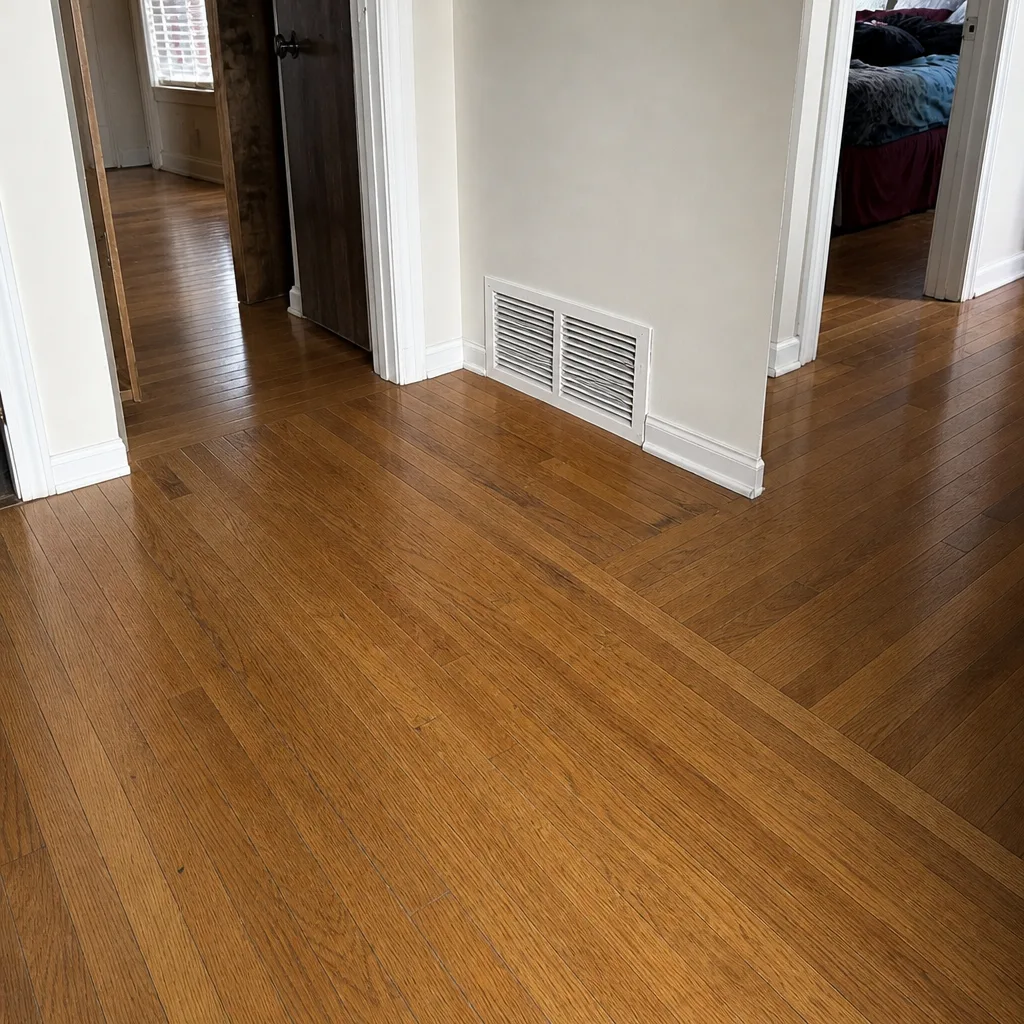
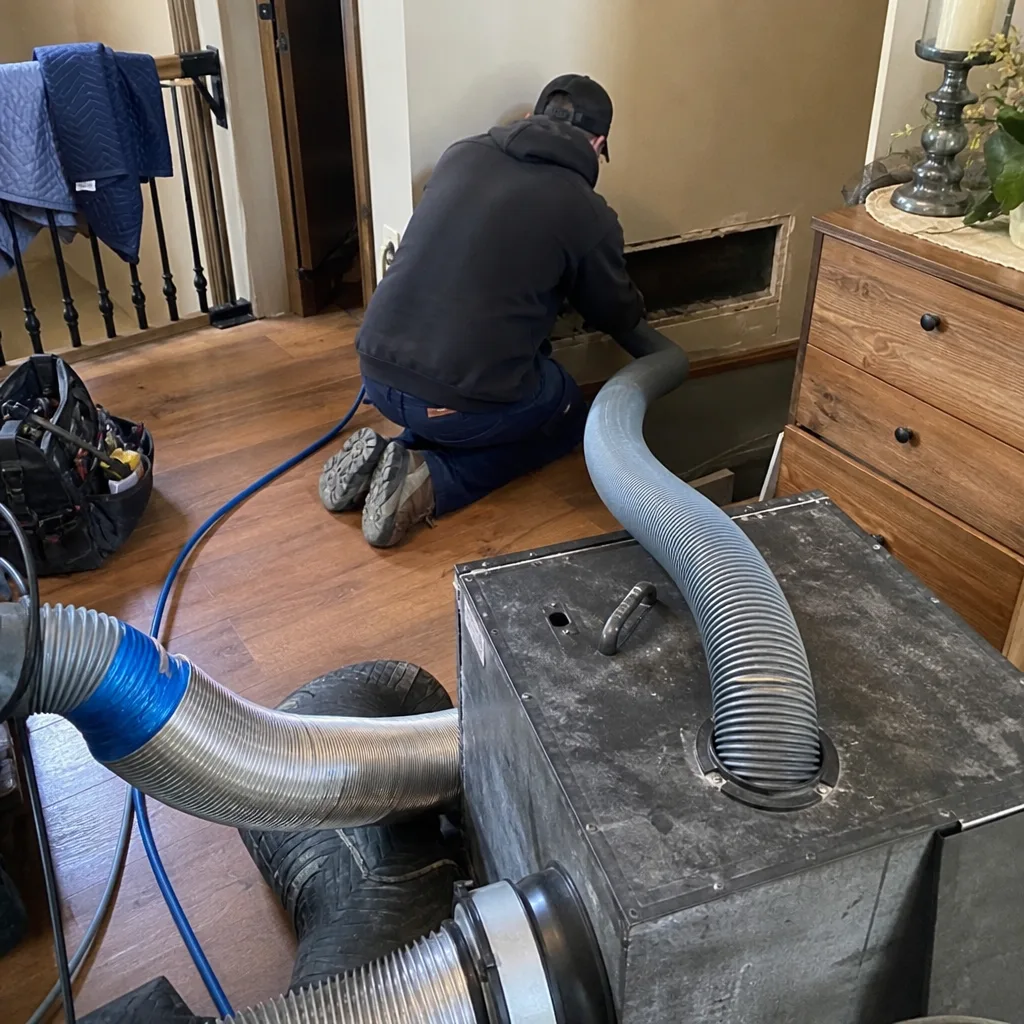
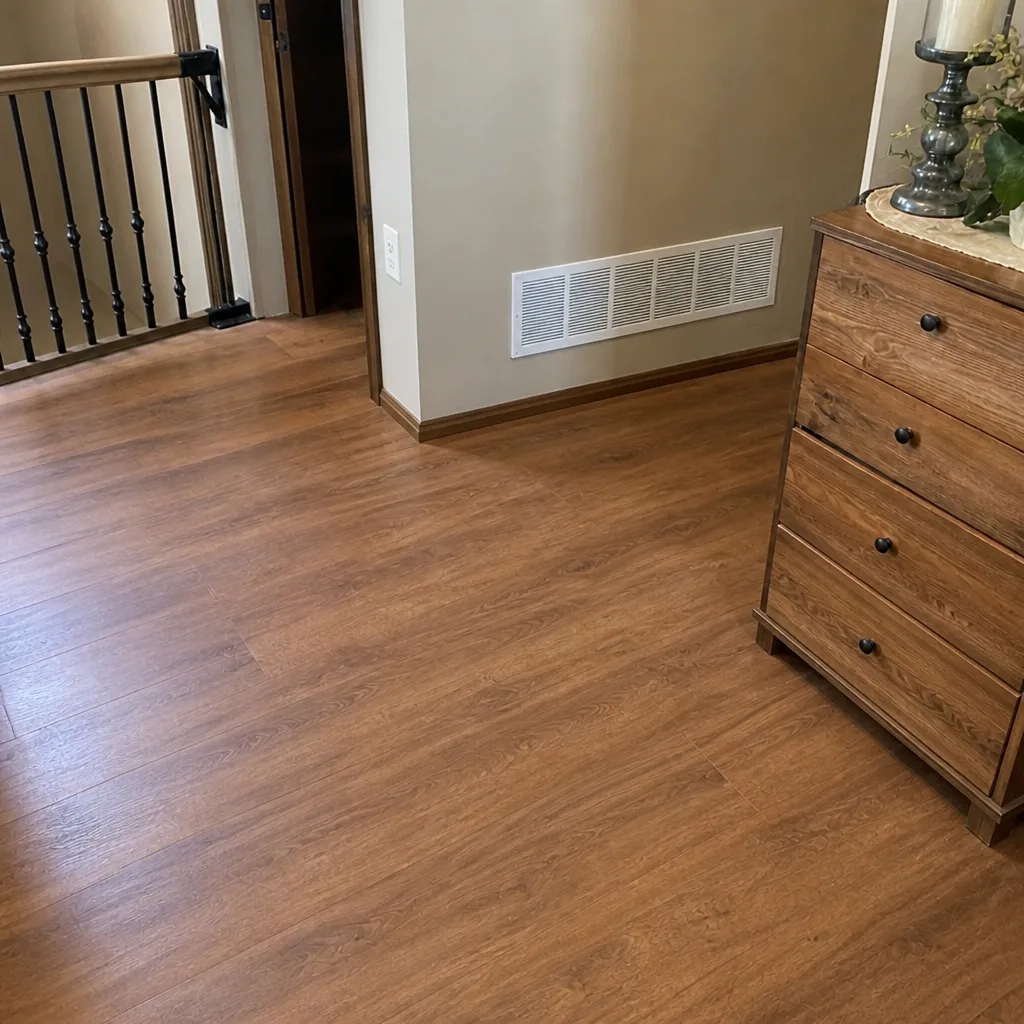
Whole-system duct and dryer vent check with before-and-after photos - you see exactly what came out of your vents
That "$99 whole-house special" is a bait ad - the real number appears once they are in your hallway, or the "clean" is a shop-vac at the register. We photograph the inside of your ducts before and after instead.
Air Duct Cleaning Maintenance Checklist for Aurora Homeowners
Most duct cleaning checklists tell you to change your filter every 90 days. That’s not maintenance – that’s the bare minimum. Real maintenance means knowing what early warning looks like before the system fails, and knowing which warnings you can watch yourself between professional visits. In Aurora, where forced-air heat runs hard from November through March and the spring pollen surge sends fine debris through every return, the difference between a small duct problem and a big one usually comes down to whether anyone was paying attention in between.
This guide gives you a structured observation protocol: room-by-room airflow comparisons, register-specific inspection points, and filter-loading tracking. None of it requires tools. All of it makes the next professional assessment faster and cheaper.
Quick Answer
A workable duct maintenance routine for an Aurora home combines quarterly visual checks of every register, filter replacement based on how fast the filter is actually loading rather than a fixed calendar, and a professional cleaning visit whenever you notice uneven airflow, musty odors, visible debris after renovation, or a spring pollen season that leaves dust settling faster than usual. Track what you observe with dates and photos so your system builds a history you can hand to a technician.
Styles & brands we work with
- Whole-home duct cleaning
- Dryer vent cleaning
- Camera inspection
- Sanitizing & deodorizing
Table of Contents
- Why a checklist beats a schedule
- The room-by-room airflow comparison
- What to look for at each register type
- Tracking filter loading as a system health signal
- Aurora-specific maintenance triggers
- Documentation habits that pay off later
- What professional duct cleaning actually involves
- Common mistakes to avoid
- When to call a professional
Why a checklist beats a schedule
A calendar-based approach assumes every home in Aurora breathes the same air. They don’t. A two-story house near the Fox River with a finished basement pulls air differently than a ranch on the east side with a single return. Homes with pets, homes with recent remodeling, homes where someone runs a woodworking hobby in the garage – each generates debris at its own rate. A fixed “clean every three years” rule can leave a struggling system untouched for years or push a clean system through an unnecessary visit.
A structured observation protocol flips that. You learn what normal looks like for your house, then you notice when normal changes. Those changes are the actual signal for professional work – not a date on a sticker.
Here’s what makes the difference:
- You catch leaks before they become pressure problems. A disconnected joint in a supply run can vent conditioned air into a wall cavity for years without obvious symptoms until the room is chronically cold.
- You distinguish seasonal variation from real failure. Aurora furnace systems sound different in January than in May. Knowing which sounds are seasonal keeps you from chasing phantom problems.
- You build evidence. A technician who arrives to a documented airflow history can diagnose in minutes what would otherwise take a long exploratory visit.
We’ve walked into plenty of Aurora homes where a homeowner had noticed the same symptom for two or three years and hadn’t acted because they weren’t sure it was real. The checklist below is built to remove that uncertainty. Understanding Aurora Duct Cleaning as a process – observation, cleaning, repair – really does start with the observation part.
The room-by-room airflow comparison
You can learn a lot about your duct system without a single tool. The simplest test is a hand-feel comparison: with the air handler running, hold a flat palm a few inches from each register in the house, one at a time. You’re not measuring volume – you’re comparing. A room that feels noticeably weaker than its neighbors is a room worth investigating. Do this in every room within the same heating or cooling cycle so the comparison stays fair.
Run the comparison twice a year: once in the middle of summer and once in the middle of winter. The difference between those two runs tells you a lot.
- Label each room mentally or on paper. Weak, average, strong. Use relative terms – you’re not judging whether the flow is “enough” by industry standards, only whether rooms are consistent with each other.
- Note rooms that changed between seasons. If a bedroom felt strong in summer and weak in winter, that’s a damper position or zoning question, not necessarily a duct problem.
- Check the return air grilles too. A weak return is as significant as a weak supply. The system moves the same air in and out, and a restricted return drags the whole house down.
- Listen at the register. Whistling or whooshing that’s louder than it used to be can indicate a blockage forcing air through a smaller opening.
- Note any room that’s consistently colder or warmer by more than a few degrees. That’s the signal that prompts professional diagnosis of the branch duct serving that room.
Persistent weak airflow in one room, with a matched weak return in the same part of the house, is the classic signature of a duct leak in an inaccessible space – a dropped ceiling, a chase, or a basement run that’s come apart at a joint. That kind of leak is invisible to a visual inspection at the register and is exactly what a professional assessment should catch.
What to look for at each register type
Debris accumulates differently depending on where a register sits and how fast the air moves through it. A floor register in an Aurora home with a finished basement collects differently than a ceiling register in a cathedral-ceiling living room. Reading each one against its own pattern is how you spot an anomaly.
Floor registers
Floor registers catch what gravity brings down: dust, pet hair, lint, and small debris from the floor surface. The pattern to watch for is even dusting versus localized clumping. Localized clumping around the edges usually means the boot (the duct section right under the register) is pulling air from a gap in the floor structure. Pull the register cover off once a quarter – most lift straight up – and look straight down with a flashlight. A light, even dust film is normal. A visible pile of debris, or construction dust, or anything that looks like insulation fibers, means the system needs attention.
Ceiling registers
Ceiling registers see less floor debris but they’re more vulnerable to building-side issues. In Aurora, ceiling registers in vaulted or attic-adjacent rooms pass through unconditioned space. Watch for condensation on the register surface in winter – a sign of air leaking from the attic or of insulation missing near the duct. Also watch for streaking dust patterns around the perimeter of the grille; that streaking means air is escaping around the register boot instead of through the grille.
Wall registers
Wall registers – common on the main floor of Aurora colonials and two-stories – often serve as the most revealing inspection point. The supply boot in a wall cavity can be knocked loose during later construction or wiring work without anyone noticing. Check the fit between the register frame and the wall surface. If you can feel air escaping around the outside of the register (rather than blowing through it), the boot connection is suspect and worth flagging in your notes.
Across all three register types, keep an eye out for:
- Rust or staining on the grille face (indicates moisture upstream)
- Debris that looks like drywall dust or sawdust (post-renovation issue)
- Black or grey smudging on the register vanes (can indicate soot or mold presence – call a professional to assess)
- Visible gaps between the register and the wall, floor, or ceiling surface
- Loose register covers that no longer sit flush
Tracking filter loading as a system health signal
Here’s the part most guides skip. The right question isn’t “when should I change my filter” but “is my filter loading faster or slower than usual?” A filter that used to be fine at 90 days and now looks clogged at 45 is telling you something has changed upstream. The filter is doing its job – it’s stopping more particulate because there’s more particulate to stop. That’s information, and ignoring it is how small problems become expensive duct repair jobs.
Track loading by comparison rather than by calendar. When you change the filter, note:
- The date
- How discolored the filter is on a simple scale (light grey, medium grey, dark grey, fully loaded)
- Whether there’s a visible color tint (rust, black, yellow)
- Whether the same type of filter is consistently loading the same way or has changed
Most Aurora homes will see more filter loading in late March and April, when spring pollen moves through open windows and doorways. That’s seasonal and expected. The signal to watch is when loading changes on a season-independent basis – faster loading in July, when the windows stay shut, points to a change in the system, not the season.
Also pay attention to filter type. A 1-inch MERV 8 filter protects the equipment and costs little airflow resistance. A high-MERV filter – useful in some allergy situations – is heavier on the blower and demands tighter duct sealing to work correctly. If you’ve just upgraded filter rating and the house suddenly feels drafty at the far registers, the higher-MERV filter is pulling the system out of balance. That’s a real issue to raise with a technician, not something to solve by downgrading the filter back.
Whatever filter your system uses, the filter only protects what it can catch. Everything downstream of the filter is what needs professional attention, and that’s where air duct cleaning becomes the right call rather than a filter change.
Aurora-specific maintenance triggers
Every region has events that change a duct system’s state. In Aurora, three triggers come up more than any other. When one of these happens, the checklist stops being routine and becomes a call to action.
Post-renovation debris
Any renovation inside an occupied Aurora home – kitchen remodel, bathroom update, flooring replacement, drywall work – sends fine particulate into the return-air system. Drywall dust, sawdust, and insulation fibers get pulled into the returns and coat every downstream duct surface. A normal filter change isn’t enough because the debris is downstream of the filter, sitting on duct walls and being reintroduced into the air every time the system runs. The right next step after major renovation is professional cleaning with equipment capable of handling the particulate load – the kind of contamination-level job we approach with Abatement Technologies filtration and Rotobrush duct tooling rather than a shop vac.
Basement water events
Aurora’s older housing stock – especially in areas near the Fox River and in neighborhoods with older foundation drainage – sees basement seepage and occasional flooding. Any basement water event that reaches a supply or return duct, or that keeps humidity high in a finished basement for more than a few days, is a trigger for duct inspection. Moisture inside ductwork creates conditions that support biological growth, and the last thing you want is a system circulating damp basement air through the whole house. A visual check of basement ducts after any water event, and a professional inspection if humidity stayed high, is the right response.
Spring pollen surge
Late March through May, Aurora’s tree and grass pollen loads climb sharply. Homes that keep windows open during that stretch pull pollen deep into the system. Most of it stays in the filter, but fine particles suspend and settle on duct surfaces. If spring allergies feel worse inside the house than outside, or if dusting the horizontal surfaces in the house accelerates during April and May but settles down by summer, that’s the pollen surge showing up in the ducts. Professional cleaning after the surge (rather than before) catches everything the season brought in.
Outside of those three events, the routine professional cleaning interval depends on how the house functions – pet hair load, occupant count, filter discipline, and whether there’s a remodel in the plans. There’s no one correct interval, only one correct approach: review your documentation with a technician and make the call together.
Documentation habits that pay off later
A system history is worth more than any single inspection. When you hand a technician a notebook or a phone photo album showing what your airflow felt like last spring, what your filters looked like at each change, and what changed after the renovation, the diagnostic work happens faster and lands closer to right. This is where most homeowners let the whole checklist fall apart – they observe carefully and then don’t record anything.
Keep it simple. Three artifacts are all you need:
- A photo of each filter at every change, taken on the same phone, in the same spot. The comparison across a year is more informative than any single photo.
- A short note on dates and airflow observations. “August 14: kitchen and dining room both feel weak compared to living room – same as June.” A single line per observation is enough. Voice memos work as well as written notes if you’ll actually keep them.
- A folder for anything service-related. Receipts from any previous cleaning, the manufacturer’s information sheet on your air handler if you have it, and any contractor’s note about ductwork. When a new technician has to make a call about your system, this folder turns an exploratory visit into a focused one.
Photograph the inside of floor registers with a phone flashlight once a year. The photos don’t need to be pretty – they need to exist. If a pattern changes, you’ll have a matched pair of before-and-after shots to point to. If you sell the home, the documentation becomes a small asset in the listing. And when you’re calling for professional work, the technician arrives already knowing what they’re walking into.
If you’d rather not keep records yourself, keep the folder anyway. Bring it to the estimate. It changes the conversation from “clean the ducts and let’s see” to “clean the parts that need it and repair what’s broken” – which is the right conversation.
What professional duct cleaning actually involves
A checklist is what you do between professional visits. It doesn’t replace the visits, because the equipment required to reach every interior duct surface isn’t consumer-grade. When we open up an Aurora system for cleaning, the scope splits into three stages: access, cleaning, and repair where needed.
The access stage is the part most cut-rate competitors skip. Before any cleaning begins, every register is removed and every duct surface that can be reached is inspected with a camera or direct light. The line between “we cleaned the ducts” and “we cleaned the ducts that needed it” is set here. Floor protection is set up too – our Guardsman-associated standards come from treating an owner’s home with the same care we’d want in our own.
Cleaning uses equipment purpose-built for the task – the same category of Rotobrush and Nikro systems found in commercial and restoration settings. Negative-pressure setups hold debris inside the cleaning containment rather than releasing it into the room. High-particulate situations, including post-renovation and mold-adjacent work, get additional filtration with Abatement Technologies gear. The system is not a household vacuum with a hose attached; it’s built for the job.
Repair is the third stage, and it matters. Duct systems in Aurora homes often have cosmetic-looking problems – a joint that’s come apart, a boot with a gap, a flexible run with a crushed section – that a cleaning-only service can’t fix. Because we handle air duct repair as part of the same visit, a technician who finds damage during cleaning can correct it rather than sending you to a second contractor and waiting weeks. That continuity is worth more than any single-stage service.
If you also have a dryer vent that hasn’t been touched in years, that’s the adult version of a duct maintenance issue – lint-clogged dryer vents are a documented fire risk, and treating them as part of the same maintenance review is the sensible way to handle both systems on one schedule. Our dryer vent cleaning handles that piece of the checklist for Aurora homeowners who’d rather not track it separately.
Common Mistakes to Avoid
- Replacing the filter on a fixed calendar instead of by loading. A 90-day rule is fine as a default, but if your filter loads visibly faster in a particular season, tracking that change tells you more than tracking the date. Aurora’s pollen season makes this especially true in a home that opens windows in spring.
- Confusing dust in the room with dust from the ducts. A dusty surface after the heat starts up is often a filter gasket gap, not a duct problem. Check the filter housing seal before assuming the ducts are the culprit.
- Using a shop vac on the registers and calling it cleaning. Shop vacs don’t have the airflow or containment for duct cleaning. They spread more particulate into the room than they collect. Built for the job, not borrowed from a hardware store.
- Skipping the return side. Aurora systems have as many returns as supplies in many houses, and the return plenum collects more debris per square foot than any supply. A duct cleaning that doesn’t address returns is half a cleaning.
- Ignoring the basement. Finished or unfinished, basements in Aurora often house long duct runs and the air handler itself. That’s the part of the system most likely to develop problems and least likely to get inspected.
- Chasing a coupon price instead of a scope. A very low quoted price usually covers a very limited scope – some vent opening and surface wipedown. When you’re comparing bids, ask what parts of the system are actually being cleaned and whether repair is included in the same visit.
- Not writing anything down. A homeowner who could describe a room’s airflow a year ago but can’t say if it’s changed has no early warning system at all. Three photos and a notebook break the pattern.
When to Call a Professional
Call a professional when you see any of the following: persistent weak airflow in one or more rooms across two seasons; visible debris or dust in a register interior that returns after a filter change; musty, dusty, or “old house” odor from a supply register when the system runs; any water event that reached a basement duct; a major renovation inside the home; or a filter whose loading rate has clearly accelerated. These are all cases where cleaning alone won’t solve it and repair may be needed – and only a technician with the right equipment can tell the difference on site.
If you’re not sure, call and describe what you’ve seen. Our technicians have up to 10 years of experience reading symptoms, and they’d rather help you sort out which case you’re in before anyone commits to a service.
Aurora Duct Cleaning offers free estimates in Aurora – call (888) 364-6081. We answer 24/7. Fast dispatch from 7am to 7pm, Sunday through Friday.
Frequently Asked Questions
There’s no universal interval, but most Aurora homes do best with a professional cleaning when a real trigger shows up – post-renovation, after a basement water event, or after a noticeable airflow change – rather than on a fixed calendar. Homes with pets, high occupant counts, or heavy pollen exposure tend to need attention sooner. If you track the checklist above honestly, you’ll know what your home needs and when.
No – not in any meaningful sense. Consumer vacuums and shop vacs don’t have the airflow or containment for duct interiors, and a consumer attempt typically stirs up more particulate than it removes. Real duct cleaning uses purpose-built equipment with negative pressure, which is also why it can’t be replaced with an annual filter change. That equipment is what we bring.
Cost depends on the number of supplies and returns, whether repair is needed, and how much contamination is present. We quote per job, not per vent, and we write the estimate before any work starts so the price you’re told is the price you pay. Call (888) 364-6081 for a free estimate – we’ll come look, ask about your checklist notes, and give you a real scope.
Cheaper quotes are usually shorter scopes. A very low bid often covers only surface wiping and register openings – not interior duct cleaning, not returns, not repair of any damage found. The equipment used for the low bid is generally not the same category of tool. Ask every bidder which parts of the system are covered, whether returns are included, and whether repair is available if damage is found. The answer will separate the quotes that are actually comparable.
Ask for before-and-after photos of your own duct interiors at each access point. A professional service photographs the register and the duct before cleaning, and the same angles after. That’s the difference between taking someone’s word and being able to see it. Every visit we make includes those photos as a standard part of the report.
For households where the ducts hold visible debris, biological growth, or a heavy pollen-load filter residue, cleaning removes the source of ongoing particulate circulation. That’s a real benefit – not a cure claim. If you have specific allergy concerns, address them with your doctor and use duct cleaning as one part of a broader indoor air quality approach. We handle the duct system; we don’t offer mold remediation or HVAC repair, and we’ll tell you when a problem needs a different specialist.
Get a Baseline Assessment
If you’ve read this far and you’re not sure where your own Aurora home sits on the checklist, the simplest next step is a free estimate. We’ll walk the system, look at each register type in your house, ask about recent renovations or water events, and give you a written scope. You don’t have to guess which part needs work.
Aurora Duct Cleaning. We don’t just clean – we inspect and repair. One flat price per system, agreed before work starts, with before-and-after photos of your own ducts as the standard proof.
Call Aurora at (888) 364-6081. We answer 24/7. Fast dispatch from 7am to 7pm, Sunday through Friday. The estimate is free, and there’s no pressure to book anything you don’t need.
Written by the team at Aurora Duct Cleaning.
See the difference
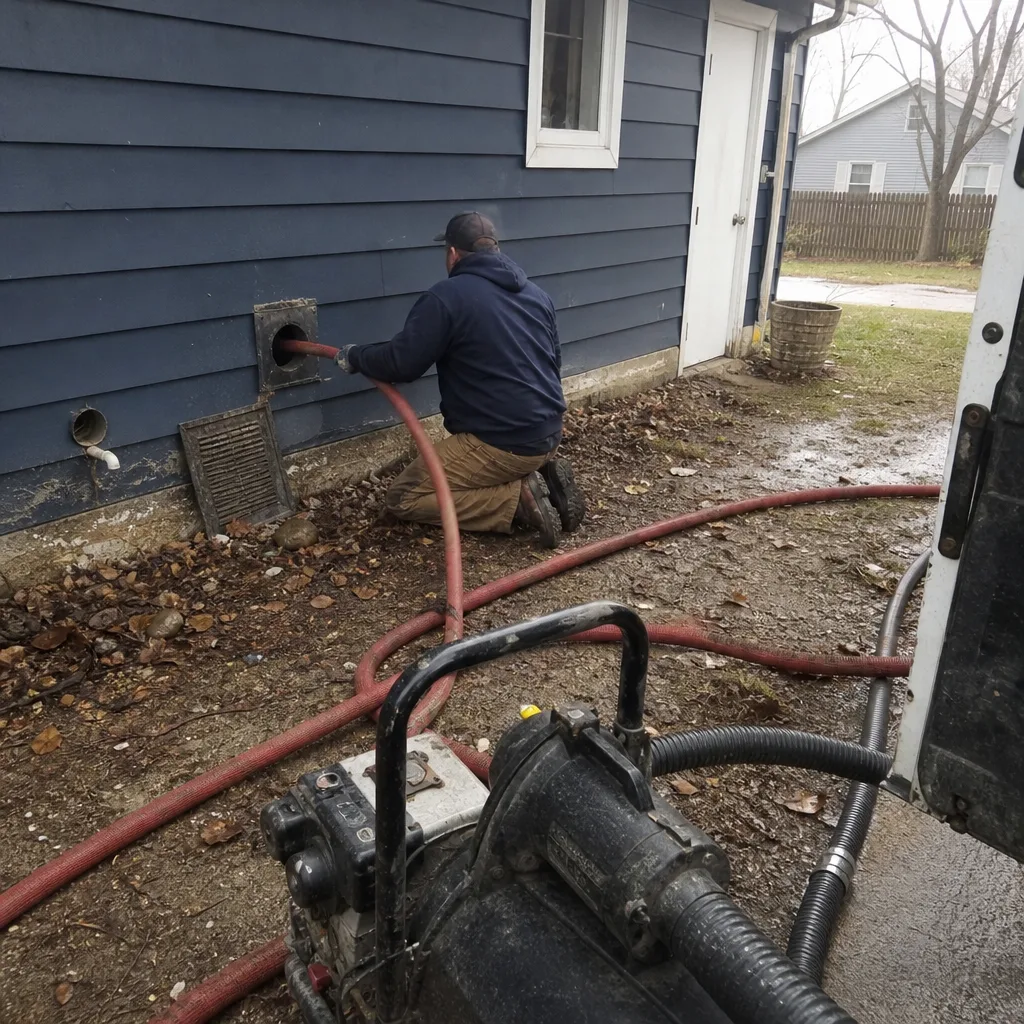 Before
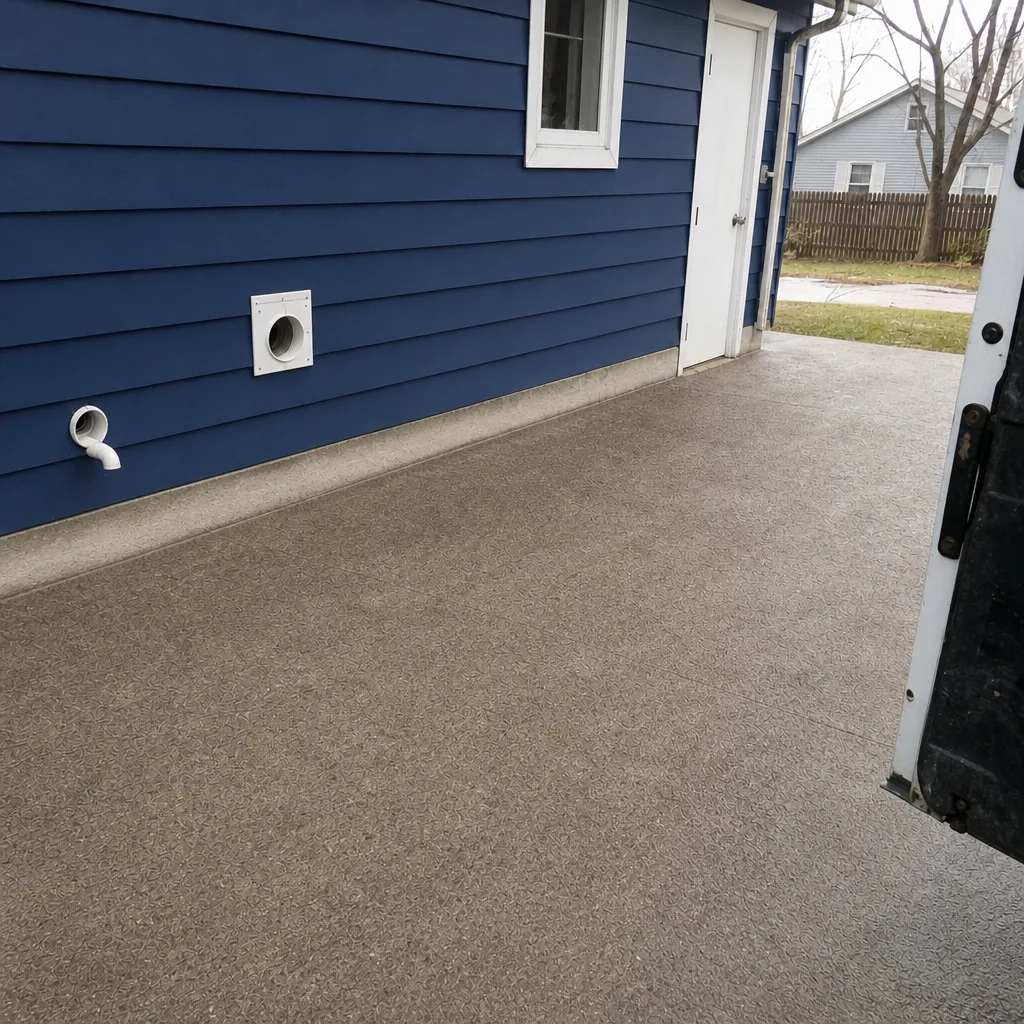 After
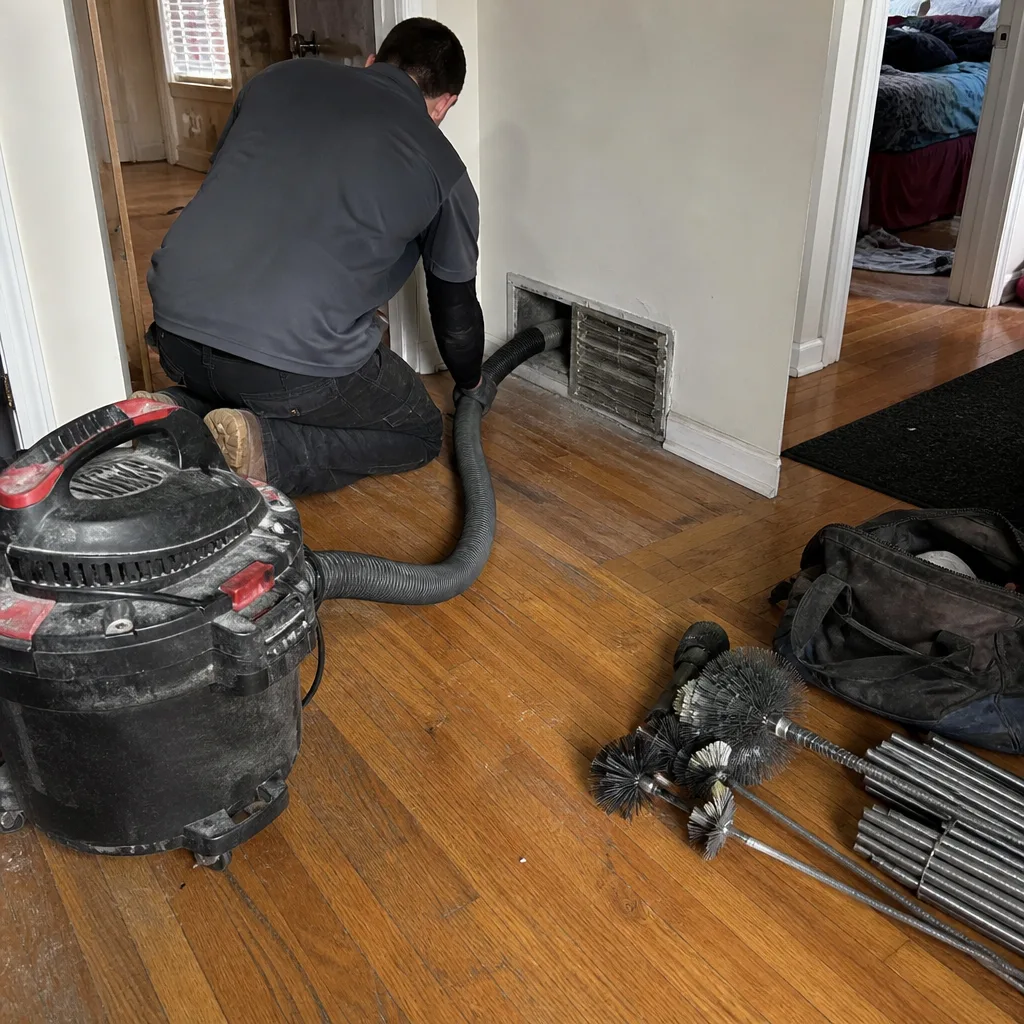 Before
 After
 Before
 After